Change the default view and render options.
You can choose preferences to control how Fusion FX displays a design.
What do you want to do?
- Preference: Manage available renders
- Preference: Adjust advanced render options
- Preference: Change the perspective navigation options
- Preference: Set Presentation View options
- Preference: Change the default layer colour
- Preference: Set initial renders for design views
- Preference: Set an initial window layout
- Preference: Change the focus point increment angle
- Preference: Change the auto hide wall options
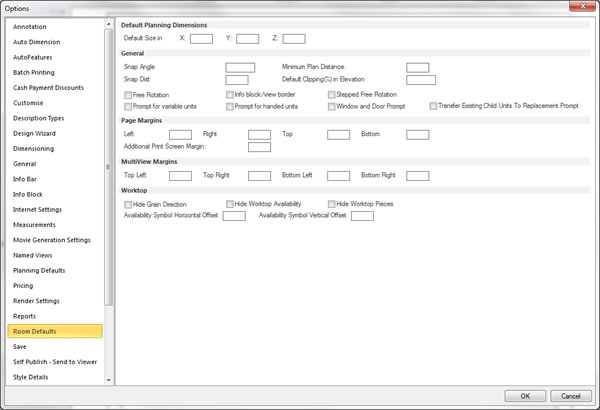
- Preference: Change the multi view margins
Preference: Manage available renders
Through preference options, you can manage your renders defined for an active design, in addition to those renders available for all designs.
- In the left pane, click Render Settings.
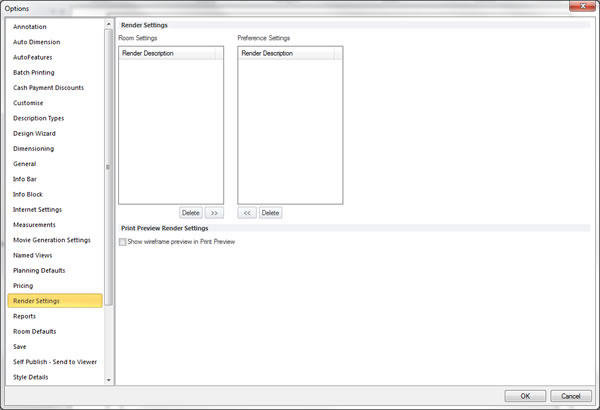
- Within the Render Settings section, select, move or clear the desired render settings.
 TOP OF PAGE
Preference: Adjust advanced render options
You can adjust advanced render related options based upon your hardware and preferred working style.
- In the left pane, click View Settings.
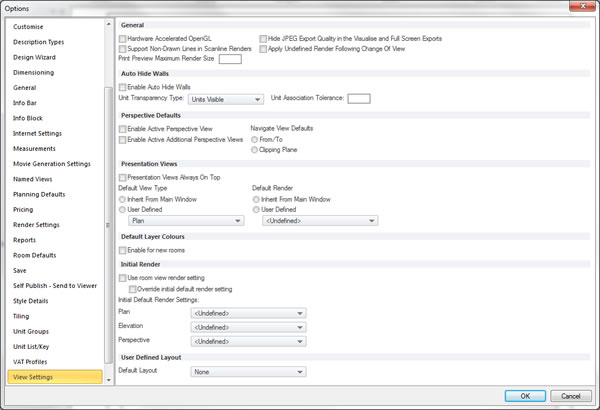
- Within the General section, select or clear the desired items.
Preference: Change the perspective navigation options
You can set how you wish to navigate the perspective view through preferences.
- In the left pane, click Perspective Defaults.
- Within the Perspective Defaults section, select or clear the desired items
Preference: Set Presentation View options
You can set the type of view and render to be applied to that view, upon opening a presentation window.
- In the left pane, click View Settings.
- Within the Presentation Views section, select or clear the desired items.
Preference: Change the default layer colour
- In the left pane, click View Settings.
- Within the Default Layer Colours section, select or clear the Enable for new rooms option.
Preference: Set initial renders for design views
You can define the initial render to be applied to each of the design views when they are opened.
- In the left pane, click View Settings.
- Within the Initial Render section, select or clear the desired options.
Preference: Set an initial window layout
You can set the window layout to be applied upon creating a new design or when opening an existing design.
- In the left pane, click View Settings.
- Within the User Defined Layout section, select desired layout.
Preference: Change the focus point increment angle
- In the left pane, click General.
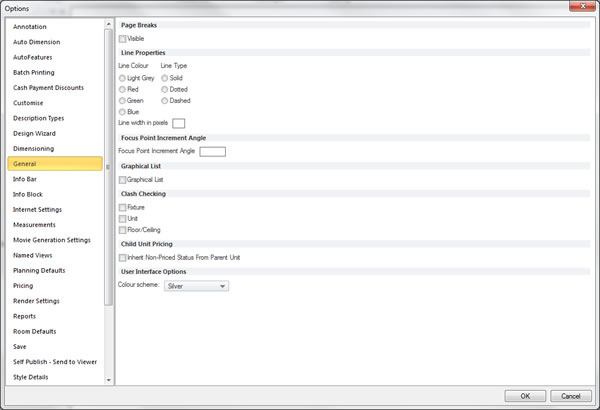
- Within the Focus Point Increment Angle section, enter the desired angle.
Preference: Change the auto hide wall options
You can set the initial state of the auto hide walls feature via preference options.
- In the left pane, click View Settings.
- Within the Auto Hide Walls section, select or clear the desired options.